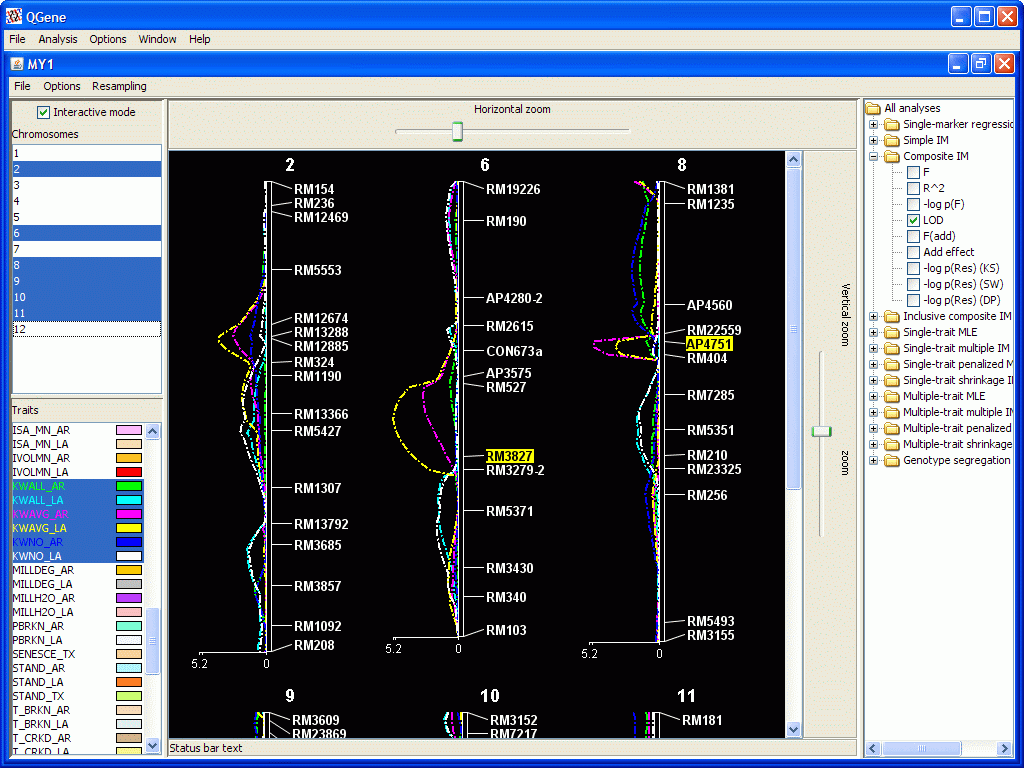
This is the window where most of your QGene work will be done. It looks like this.

- Selection of chromosomes and traits in their respective lists at
left is according to standard rules; a mouse click selects one at a time unless
you hold down the Control key (for possibly non-adjacent selections) or the
Shift key (for extending a selection).

- Double-clicking on a trait name allows you to change the color used for its contours.
- Double-clicking in the icon to the right of an analysis statistic
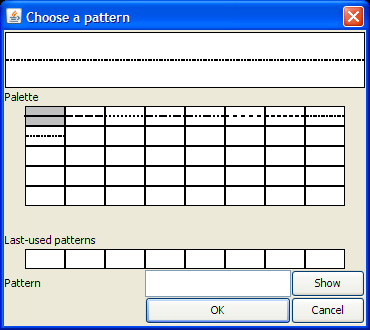
allows you to select the pattern used for drawing its contour, using the
dialog shown at right. You may choose an existing pattern or create a new
one. To see how to specify the lengths of the dots or dashes, click on one
of the existing patterns.
- The right-hand panel shows the available analyses. These are supplied as "plugins" and may include your own custom-written analyses; see developer notes. These analyses are discussed in more statistical detail on a separate page. You may select any combination of analysis types and statistics. However, you'll soon see that only a limited number of contours can be meaningfully viewed at once. Particularly useless are combinations of statistics that lie on very different scales, such as r2 and F. The smaller statistic will disappear in the presence of the larger one.
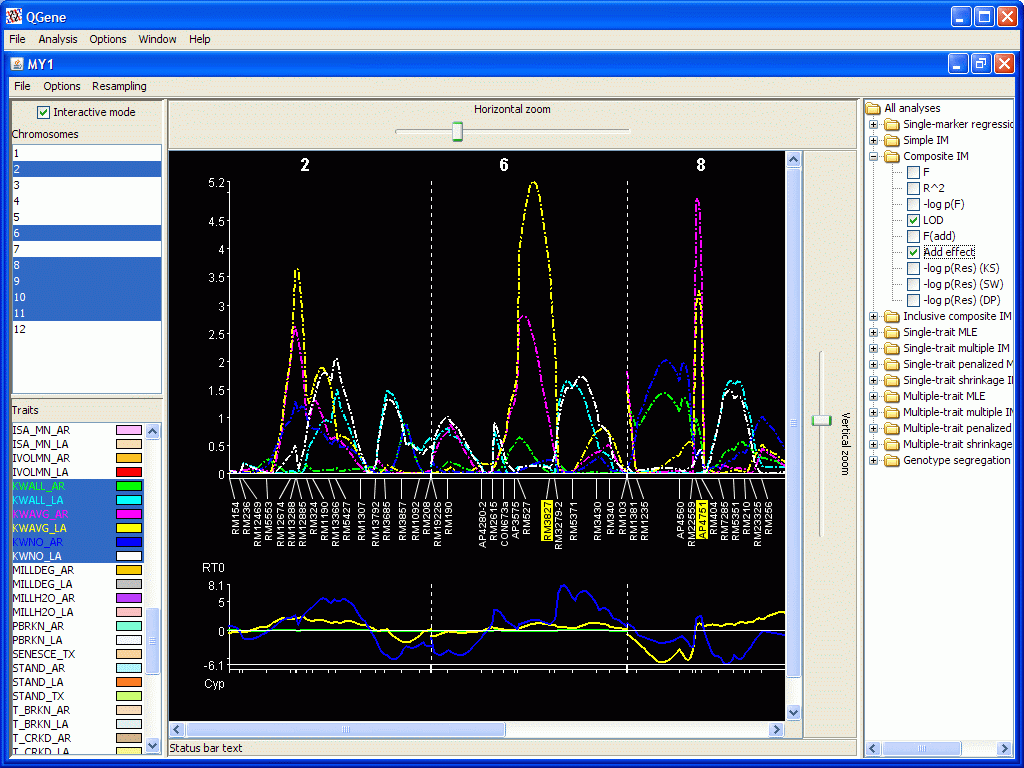
- If you choose a signed statistic such as Add effect (additive effect), a second plot is drawn below the main chromosome-map plot. A positive-signed effect represents an increasing allele from parent 1, the A parent; a negative-signed effect, an increasing allele from parent 2, the B parent. If you supply names for these parents in your .qdf data file, their first three letters will be displayed on the plot for this purpose.
- For
some of the interval-mapping methods, QGene applies several normality
tests to the residuals after linear-model fitting. (Usually they aren't
very normal, either!). The p
values from the KS, SW, and DP tests are represented as their negative
logs. (The expanded names of these tests will be found in the Trait analysis window).
- Under the Options menu:
- The display options Toggle orientation, Reverse video, and Chromosome label display are self-explanatory; just try them to see how they work.

- The Select cofactors option
should be discussed a little.

- First, you may click in the display to select (or deselect, if already selected) any marker you like. These markers will be used as cofactor markers in the Composite interval mapping and Multiple-trait mapping analyses.
- If you choose to have the cofactors chosen for you automatically, you should deselect those currently selected, using the Deselect cofactors menu option.
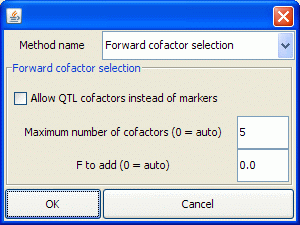
- The Select cofactors dialog is shown at right. If you're not familiar with cofactor-selection parameters, you may let QGene supply cofactors for you. Here's how the feature works:
- 1. If Maximum number of cofactors is left as "auto", cofactor selection employs the F-to-add threshold (see below for the auto setting for this), with one exception: for multiple-trait methods, QGene will limit the cofactors to 3 times the number of traits in the model. This is because MT methods tend to bring in too many cofactors.
- 2. If the F-to-add threshold is left as "auto", it is computed as the p = 0.05 cutoff value on the inverse CDF of an F distribution with numerator df 1 and denominator df equal to the number of markers in the data set.
- 3. If the F-to-drop threshold is left as "auto", it is computed as F-to-add minus 0.1. This is used by QTL Cartographer version 1.17, if we recall correctly; source code for QTL Cartographer 2.x or above is not available.
- 4. If Allow QTL cofactors instead of markers is checked, QGene allows expected QTL genotypes to be chosen as cofactors.
- Under the File menu:
- Exporting text. The text that is exported will be a tab-separated table of the results of an analysis, showing only the statistics that were selected for display.
- Exporting figures
- The graphical results of a display may be exported to the system Clipboard in .jpg format for pasting into any document that will accept it. If you want a wider selection (currently eight) of graphical formats, choose Export image to file.
- When you want to export images, you'll probably want to choose Options/Reverse video in order to replace the black with a white background.
- If you prefer to export images in grayscale, for example for
publication, use the Options menu
on the main QGene window to select Save
images as grayscale. This poses an additional problem of distinguishing
between contours; on the screen, QGene uses color to distinguish between
traits and patterns to distinguish between statistics. Your best plan is
not to try to show too many contours in one figure. Specify contrasting colors
for the traits so that they will look different in grayscale, and if you
are showing more than one statistic (for example the LODs for CIM and MIM
both), change the line patterns for these stats so that they differ.